Before You Start: Planning Your New Tub or Shower
So, you're ready for a new bathtub or shower, huh? That's a big project, and it's one where a little planning goes a long way. Don't just rip out the old one and hope for the best. You've got to think about a few things first, especially if you're in a Bixby home built in the 70s or 80s – those older plumbing setups can throw you a curveball.
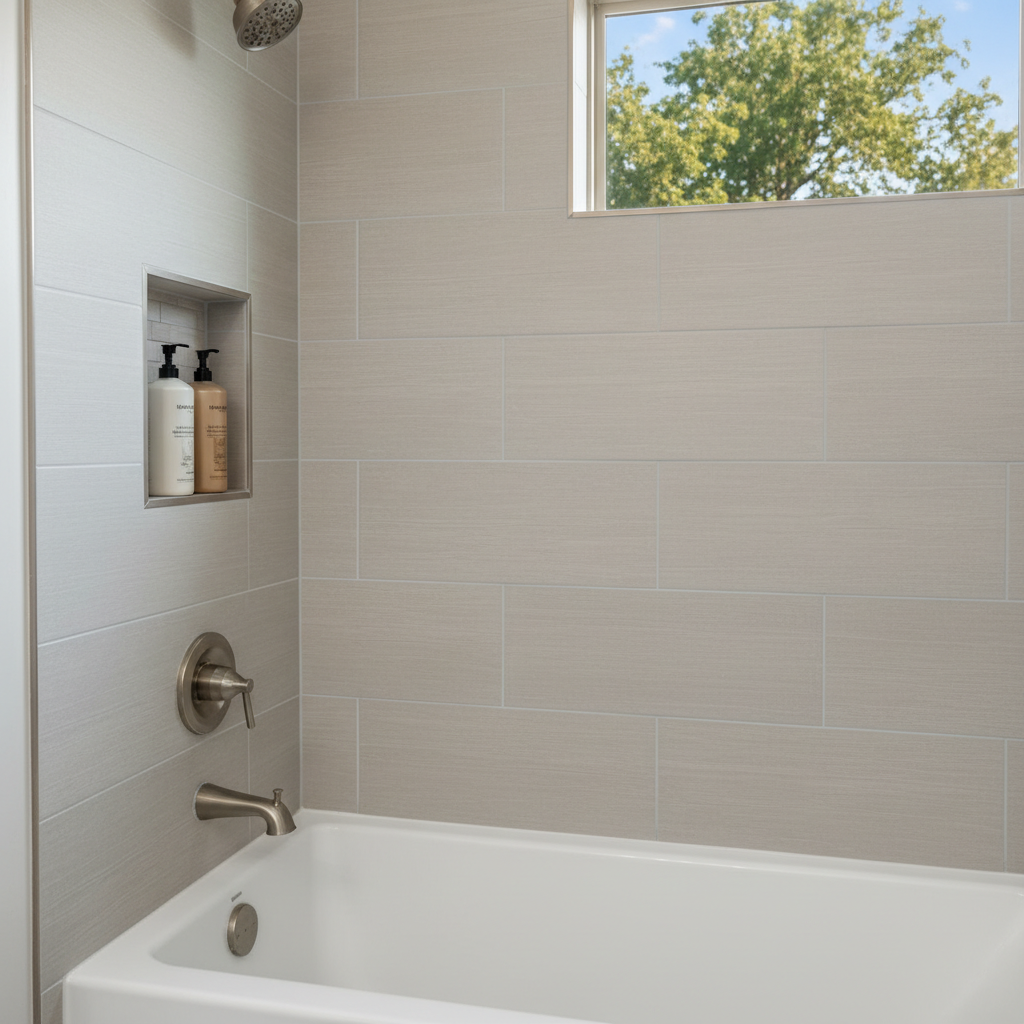
First, what kind of tub or shower are you looking for? Are you just replacing like-for-like, or are you dreaming bigger? A standard alcove tub is one thing; a fancy walk-in shower with multiple jets is another entirely. The type you choose dictates a lot: the materials, the plumbing work, and how much space you'll need. Measure your current space meticulously. Don't forget to measure the doorway into the bathroom, too. You'd be surprised how many folks buy a beautiful new tub only to find it won't fit through the door.
Next, consider your subfloor. This is crucial. If you're going from a lightweight fiberglass shower stall to a heavy cast iron tub, or a large tile shower, your floor joists might not be up to the task. Here in Bixby, especially with some of the clay soils we have, foundations can shift a bit over time, and that can affect floor stability. You might need to reinforce the floor, and that's definitely a job for someone who knows what they're doing. You don't want your new tub ending up in the living room below.
Finally, think about your budget. Be realistic. Materials cost money, and if you're hiring someone, labor isn't free. Get a few quotes if you're not doing it all yourself. At Omega Kitchen & Bath, we always give a clear breakdown so you know what you're paying for.
During the Project: What You Can Tackle (and What You Shouldn't)
Alright, demo day! This is where things get messy, but it can also be pretty satisfying. Removing the old tub or shower is often something a homeowner can handle. Grab a pry bar, a hammer, and some safety glasses. Just be careful not to damage the surrounding walls or, more importantly, the plumbing lines behind them. Turn off your water supply before you start disconnecting anything, obviously. You don't want a geyser in your bathroom.
Once the old unit is out, you'll need to prepare the space. This usually involves cleaning up debris, checking for any water damage (fix that now, don't ignore it!), and making sure the area is level and plumb. If you're installing a standard pre-fab shower pan or tub, you'll need to set it properly in a mortar bed to ensure it's stable and drains correctly. This part is critical. A wobbly tub or a shower pan that holds water is a nightmare you want to avoid.
Now, here's where the line between DIY and pro gets a little blurry, and often, it's better to err on the side of caution. Connecting the drain and overflow assembly for a tub, or the drain for a shower pan, requires a good seal. If you're not confident in your plumbing skills, this is a prime spot for leaks. A small leak now can turn into a huge problem down the road, rotting out your subfloor and causing mold. Trust me, I've seen it happen too many times.
Installing the actual tub or shower unit itself can be a two-person job due to weight and awkwardness. Getting it perfectly level and secured is key. For tiling, if you're doing a custom shower, that's an art form. Laying tile correctly, waterproofing the walls, and getting those grout lines straight takes practice. If you're not experienced, you might end up with an uneven, leaky mess. This is where Omega Kitchen & Bath really shines – we do this every day.
The big one: plumbing fixtures. Installing the shower valve, showerhead, and tub spout. This involves working with water lines inside the wall. If you mess this up, you're looking at leaks behind your beautiful new tile. Unless you're a seasoned DIY plumber, I'd strongly recommend calling in a licensed professional for this part. It's not worth the risk of water damage to save a few bucks.
After Installation: Finishing Touches and Maintenance
So, the new tub or shower is in, the plumbing's hooked up, and everything's looking good. Now it's time for the finishing touches. Caulking is crucial. Use a good quality silicone caulk around all seams where the tub or shower meets the wall, and around the fixtures. This prevents water from getting into places it shouldn't. Re-caulk every few years, especially in high-humidity areas like Bixby summers. That humidity can really test your seals.
Once everything's dry, do a thorough leak test. Run the shower, fill the tub, and let it sit for a bit. Check all connections, under the tub, and in the ceiling below (if applicable) for any drips. Catching a small leak now is much easier than dealing with a big problem later.
Finally, enjoy your new space! Keep it clean, use non-abrasive cleaners, and address any issues like slow drains promptly. A little maintenance goes a long way in keeping your new tub or shower looking great and functioning perfectly for years to come. If you ever hit a snag, or decide you'd rather have the pros handle it from the start, you know who to call.